收集Java、Tomcat日志
通过 Logstash 收集 Tomcat 日志
预先准备
安装配置jdk, ELK在此不再赘述.
首先, 准备好测试页面, 确保测试页面可以正常访问, 在这里我准备好的测试页面是 http://192.168.0.126:8080/test/
[root@master apache-tomcat-9.0.34]\# curl 192.168.0.126:8080/test/index.html
<h1>TEST PAGE</h1>
修改 tomcat 的日志格式, 将原先默认的.txt格式改为.json格式, 编辑/usr/local/apache-tomcat-9.0.34/conf/server.xml:
<!-- 大概在164行左右 -->
<Valve className="org.apache.catalina.valves.AccessLogValve" directory="logs"
prefix="tomcat_access_log" suffix=".log"
pattern="{"clientip":"%h","ClientUser":"%l","authenticated":"%u","AccessTime":"%t","method":"%r","status":"%s","SendBytes":"%b","Query?string":"%q","partner":"%{Referer}i","AgentVersion":"%{User-Agent}i"}"/>
扩展:
"表示的是"英文引号的意思.
修改完配置文件之后, 保存退出, 并重启 tomcat 服务.
然后在浏览器或者使用curl命令模拟访问 tomcat 服务, 使之产生日志文件.
查看日志文件:
[root@master logs]\# tail tomcat_access_log.2020-07-09.log
{"clientip":"192.168.0.125","ClientUser":"-","authenticated":"-","AccessTime":"[09/Jul/2020:09:29:15 -0400]","method":"GET /test/ HTTP/1.1","status":"304","SendBytes":"-","Query?string":"","partner":"-","AgentVersion":"Mozilla/5.0 (Windows NT 10.0; Win64; x64) AppleWebKit/537.36 (KHTML, like Gecko) Chrome/83.0.4103.106 Safari/537.36"}
{"clientip":"192.168.0.125","ClientUser":"-","authenticated":"-","AccessTime":"[09/Jul/2020:09:29:24 -0400]","method":"GET /test/ HTTP/1.1","status":"200","SendBytes":"19","Query?string":"","partner":"-","AgentVersion":"curl/7.55.1"}
{"clientip":"192.168.0.125","ClientUser":"-","authenticated":"-","AccessTime":"[09/Jul/2020:09:29:24 -0400]","method":"GET /test/ HTTP/1.1","status":"200","SendBytes":"19","Query?string":"","partner":"-","AgentVersion":"curl/7.55.1"}
{"clientip":"192.168.0.125","ClientUser":"-","authenticated":"-","AccessTime":"[09/Jul/2020:09:29:27 -0400]","method":"GET /test/fsdsd HTTP/1.1","status":"404","SendBytes":"723","Query?string":"","partner":"-","AgentVersion":"curl/7.55.1"}
...
收集 tomcat 日志
编辑logstash的 tomcat 日志收集配置文件config/java_tomcat.conf, 内容大致如下:
input {
  file {
   path => "/usr/local/logstash-7.7.1/logs/logstash-plain.log"  #收集java的日志文件目录
   start_position => "beginning"
   stat_interval => 3
   type => "java-log"
  }

  file {
   path => "/usr/local/apache-tomcat-9.0.34/logs/tomcat_access_log.*.log"  # 收集tomcat日志的文件目录
   start_position => "beginning"
   stat_interval => 3
   type => "tomcat-access-log"
   codec => "json"  # 输出tomcat 的json日志格式
  }
}

output {
  if [type] == "java-log" {
   elasticsearch {
   hosts => ["192.168.0.126:9200"]
   index => "javalog-7-102-%{+YYYY.MM.dd}"
   }
  }

  if [type] == "tomcat-access-log" {
   elasticsearch {
   hosts => ["192.168.0.126:9200"]
   index => "tomcat-access-log-%{+YYYY.MM.dd}"
   }
  }
}
启动logstash:
bin/logstash -f config/java_tomcat.conf
过程中遇到的问题:
logstash无法加载到tomcat的日志, 原因是如果运行logstash的用户为普通用户, 则可能会因为权限问题无法访问到tomcat的日志, 在此需要特别注意.
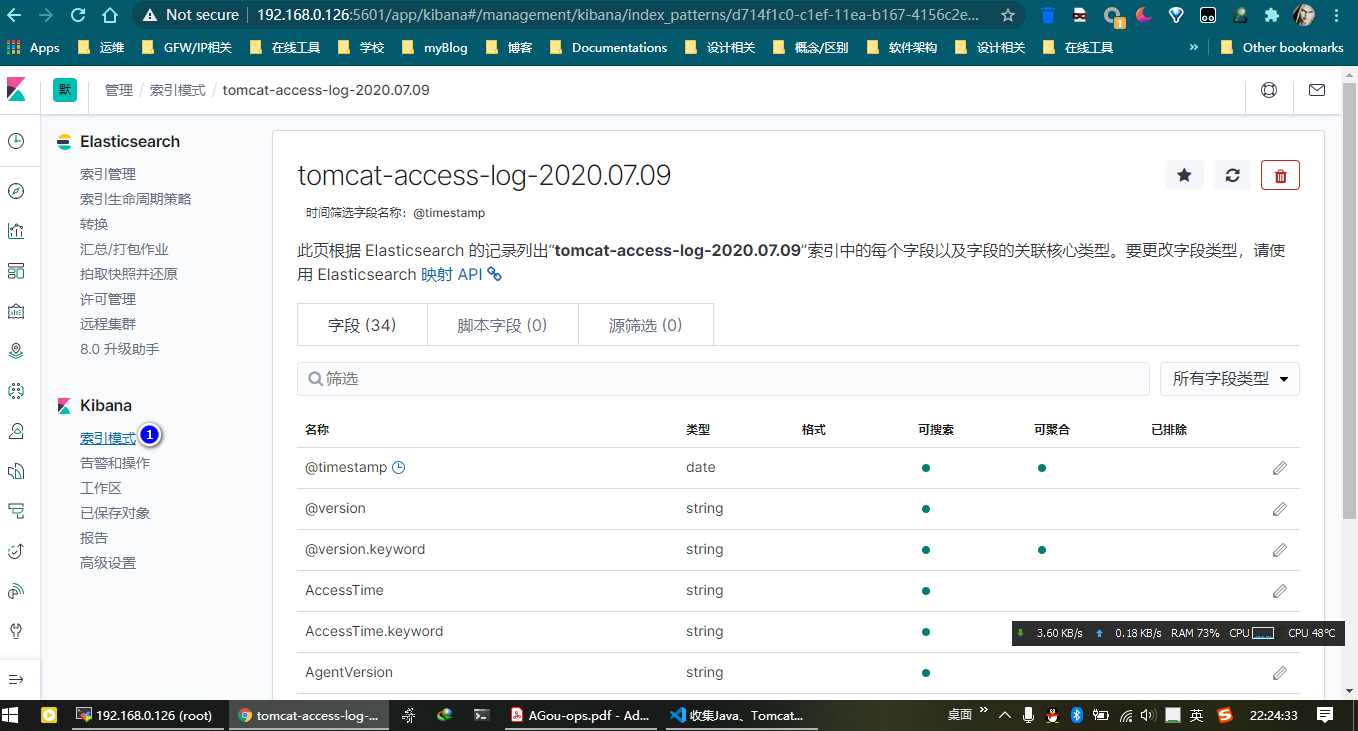
打开浏览器访问logstash的web管理页面, 找到以下页面, 并添加一个索引:

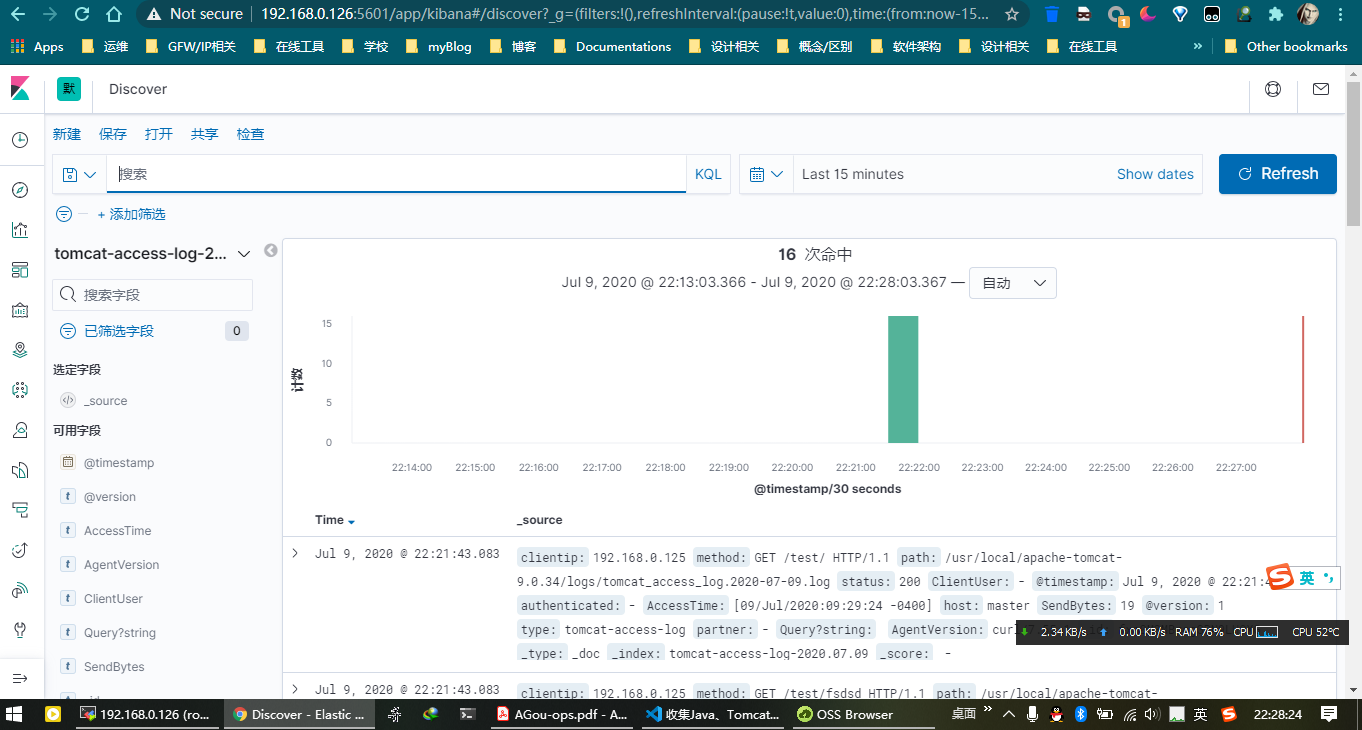
随后打开Dashboard进行查看:

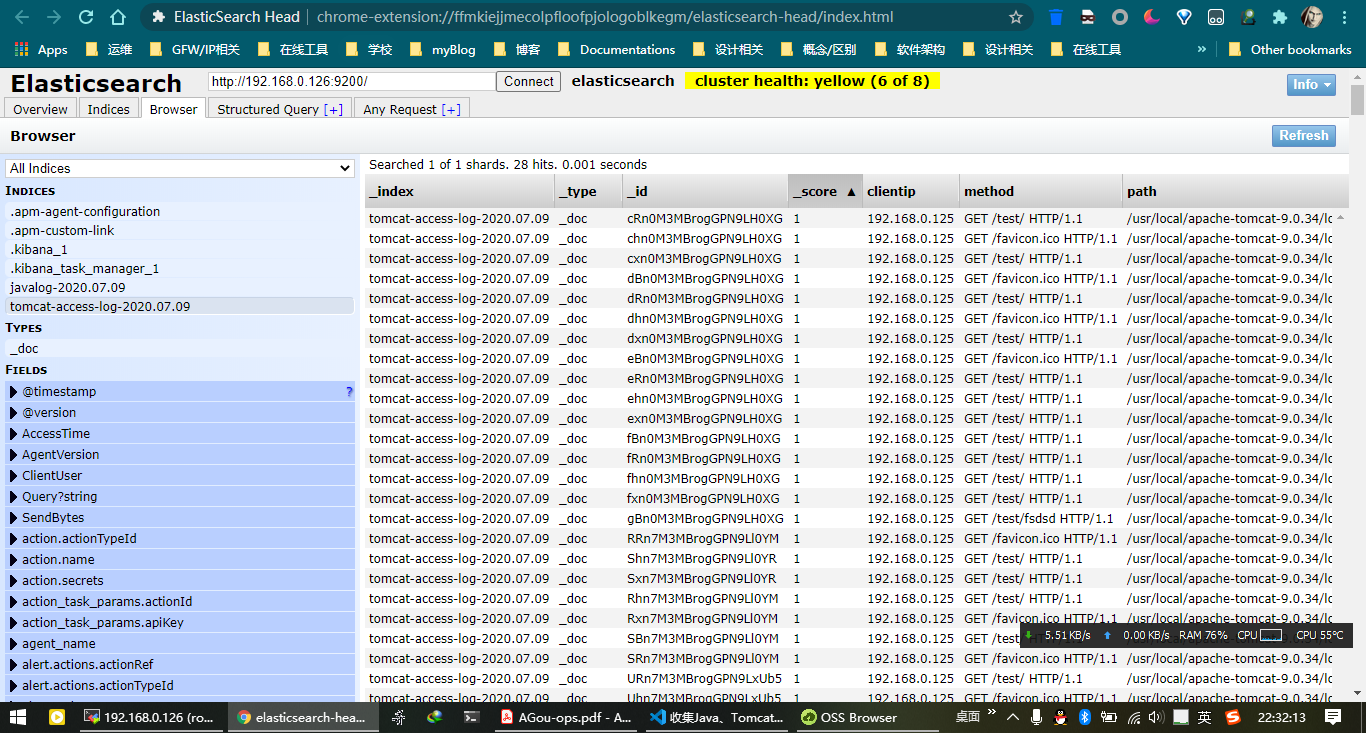
在elasticsearch的web面板中查看:

日志合并-Multiline codec plugin
本编解码器的最初目标是允许加入多行消息从文件到一个单独的事件。
示例java日志配置文件(部分):
input {
  file {
   path => "/usr/local/logstash-7.7.1/logs/logstash-plain.log"  # 要采集的log日志
   start_position => "beginning"
      codec => multiline {
             pattern => "^\["  # 以[开头开始匹配
             negate => true
             what => "previous"
      }
   }
}
output {
   elasticsearch {
   hosts => ["192.168.0.126:9200"]
   index => "javalog-%{+YYYY.MM.dd}"
   }
  }
参考链接
- codecs-multiline Documentations: https://www.elastic.co/guide/en/logstash/current/plugins-codecs-multiline.html